Tuesday, September 13, 2011

A few layouts (and some tips) using the September kit

I absolutely love this kit! The colors are FAB and coordinate so well with ANY theme you may be working with!

This first layout is an outdoor theme! Kids smiling after a ride on the ATV. And of course the sticker quote works awesome on this layout with these photos! (the one about the nuts! LOL!!)


Now on the bottom you'll see the wood pieces that came in the kit! I wasn't sure what to do with these at first, but by combining them into one swirly and putting a flower over the center to hide the wierd way they connected it created a fun addition to my layout. Add some stickles to finish it off and voila!


On the side here I had a blank spot that was really bugging me and the word strips on the large sticker sheet that came in the kit really filled the space perfectly! This is a great way to fill space without cluttering it up and to help TELL the story!


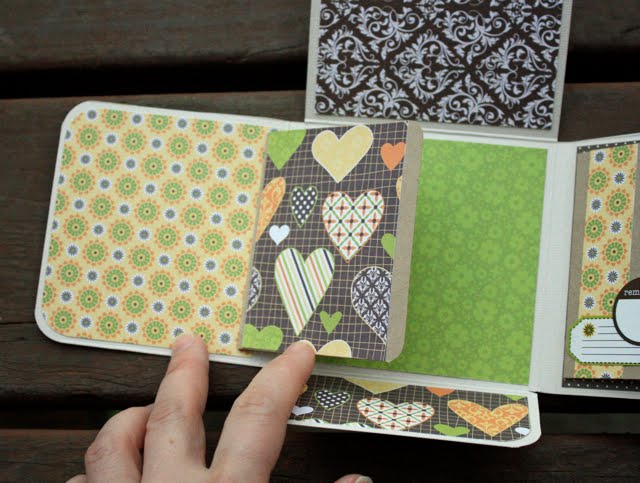
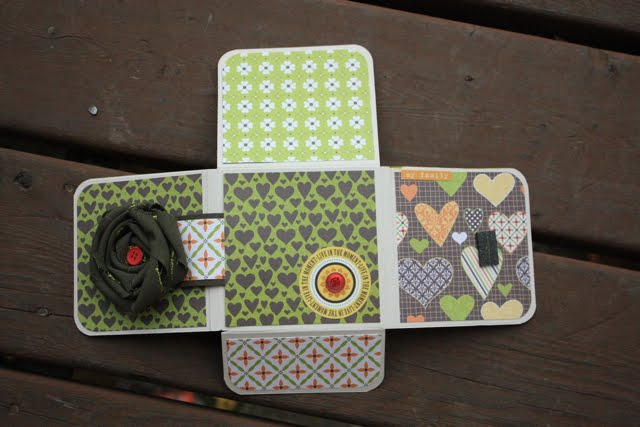
This layout is a family themed layout. I LOVE how it turned out!


A few up-close photos. The teeny tiny letters are a great way to add a sub-title to your layout and some extra journaling. I used them here on this layout to add our names. The stick pins are fun! I loved the hearts with the pearls and wanted them on here and so I added one behind the journaling at the top and then one to the side of the photos. I liked how the pin showed! I just added some 3-in-1 glue to the back of the heart and it stuck where I wanted it. The long journaling sticker strip on the sticker sheet was a great way to divide the photos, add some interest, and some extra journaling!


Happy Scrappin!!!! Keep on to the next post to see a tutorial for a mini-album!
Sara Wise

Mini-Album using the September kit!

Hi this is Sara Wise! Hoping to share with you a fun proejct that will get you digging into your September kit!

So the September Scraptique Boutique kit is awesome! I LOVE the Jillibean Soup papers! The whole kit just coordinated very well which made this whole project EASY and QUICK to put together! You can see the complete September kit by scrolling down to the previous post or by visiting our facebook page!!


Here is what we'll be making:


Now creating this is SOOO simple:
1. - 1 piece of 12’ x 12” cardstock, score in one direction at 3-3/4” and 4” and again at 8” and 8-1/4”. Rotate and score at 4” and 8”

2. - Cut off the 4 outside corner pieces and save the cardstock for matting photos

3. - On the side that does not have the extra scores, cut off about 1/8” from the top so it folds easily without getting crushed and cut off 2-1/4” from the opposite side on just the center piece leaving it 1-3/4” long.

4. - And then fold in on all the score lines

These photos show you what you should have at this point:


I then rounded all the corners with my Corner Chomper. (on the 1/2" side) You could leave the corners straight if you wanted to but I think rounded corners just look better!


Now for the details:
I'll tell ya what I did here and then after you can see all the photos of the book so you can see it!

1. You can now add papers to the book! What you add is up to you.
- All papers EXCEPT for the MIDDLE piece are 3 1/2 x 3 3/4. The middle piece is 3 3/4 x 3 3/4

2. You'll notice I added a "book" piece to both of the side panels. To create this
- Cut a piece of cardstock at 5 1/2 x 3 1/2 and then score at: 3, and 3 1/4
- When adding to the panel simply add a strip of glue down the part between the score lines and add! You can then
add your details to it. OR you can scrap it up and then add to the panel!

3. The book is closed using a
*3x1 3/4 strip of cardstock and a strip of 2 3/4 x 1 1/2 piece of patterned paper
*Glue it to the BACK of the book so it can wrap around to the front to close
* I added one of the flowers from the kit to the end of the strip and put a magnet to the back of it and a magnet to the front of the book to keep it closed. You could also use VELCRO instead of a magnet.


HAPPY SCRAPPIN!!!! And as always you can e-mail me at wiseguys@mtaonline.net if you need any further clarification on any of the steps! TO see more projects using past kits and just other ideas you can visit my blog here!

Sara